Orient Express Club Scrap Kit (September 2011) - Pages 7 and 8

Here are pages 7 and 8 of the Orient Express Club Scrap Kit. Let's look
below for more pictures and details about this layout.
Here is page one of the two page layout. 

I have a border cut apart set at the top of the page. It measures 8 1/2" x 1".
I used a ribbon from the kit and bordered the border strip on the top and bottom.
I have put a red jewel on the ends of the border strip. I have black cardstock set behind
the photo mat that measures 7" x 4 1/4". The photo mat measures 5 1/4" x 3 3/4".
I have three punch outs that have a word printed on it. I set those to the side
of the photo mat and attached them using brads.

I used stamps from my stash. the family, fun, friend circle stamp and the U Are Great stamp is from the
dollar bin at Walmart and the sentiment is a Fiskars stamp I purchased from Joann. I stamped the
family, fun, friends circle stamp twice and layered the two together with the other stamps on top.
 I stamped them using the Momento Tuxedo black ink. 

I have another photo mat using red cardstock that is 3 3/4" x 5 1/4". I have
another look at my stamped cluster of embellishments.

Here is a look at the second page of this two page layout. I have
a creme cardstock set behind the photo mat and top embellishments. It is
7 1/4" x 5 1/4". Let's take a look at the pictures below for greater detail
 about the other embellishments on the page.

Here is a photo mat that is double matted. The black mat is cut at 4" x 5 1/2" and the
top mat is cut at 3 3/4" x 5 1/4". It will fit a 3 1/2" x 5" photo. I used some ribbon that
came in the kit to wrap around the photo mat and adhered it to the back with tape. I tied
a knot to the front to look like a bow.

I have another area for a picture or two. The blue mat is cut at 3 1/2" x 3 1/2" and
the red mat is cut at 1 3/4" x 2 1/4". I stamped the cluster of embellishments above the
blue photo mat. I used stamps that came with the kit. They are Club Scrap
Stamps. I found a clock embellishment and added, but don't know where it came from.
I used a punch apart at the bottom of this cluster and adhered with brads that came with the kit.

This bridge I cut at 4 1/2" on my Cricut using the My World cartridge.
 It matched the bridge pictured in this kit perfectly. It was printed on the
paper as well as the stamp I used at the top of the page. 


Click below to view my YouTube video:


Comments

Popular posts from this blog

Child Powered Snow Plow Scrapbook Layout (November 2017 Hip Kit) Page 6

Aurora Borealis Club Scrap Kit (December 2011) - Pages 11 and 12

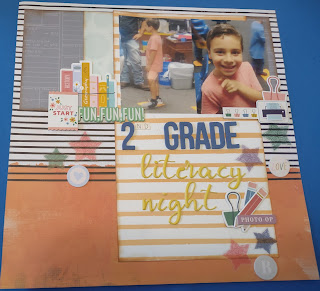
2nd Grade Literacy Night Scrapbook Layout (September 2021 Hip Kit) Page 7