Versailles Club Scrap Kit (August 2011) - Pages 1 and 2
 |
| Here it is, the first two pages of the August 2011 Versailles Club Scrap kit . For a introduction of what is all in this kit click here to watch my YouTube video. Let's look below for more details. |
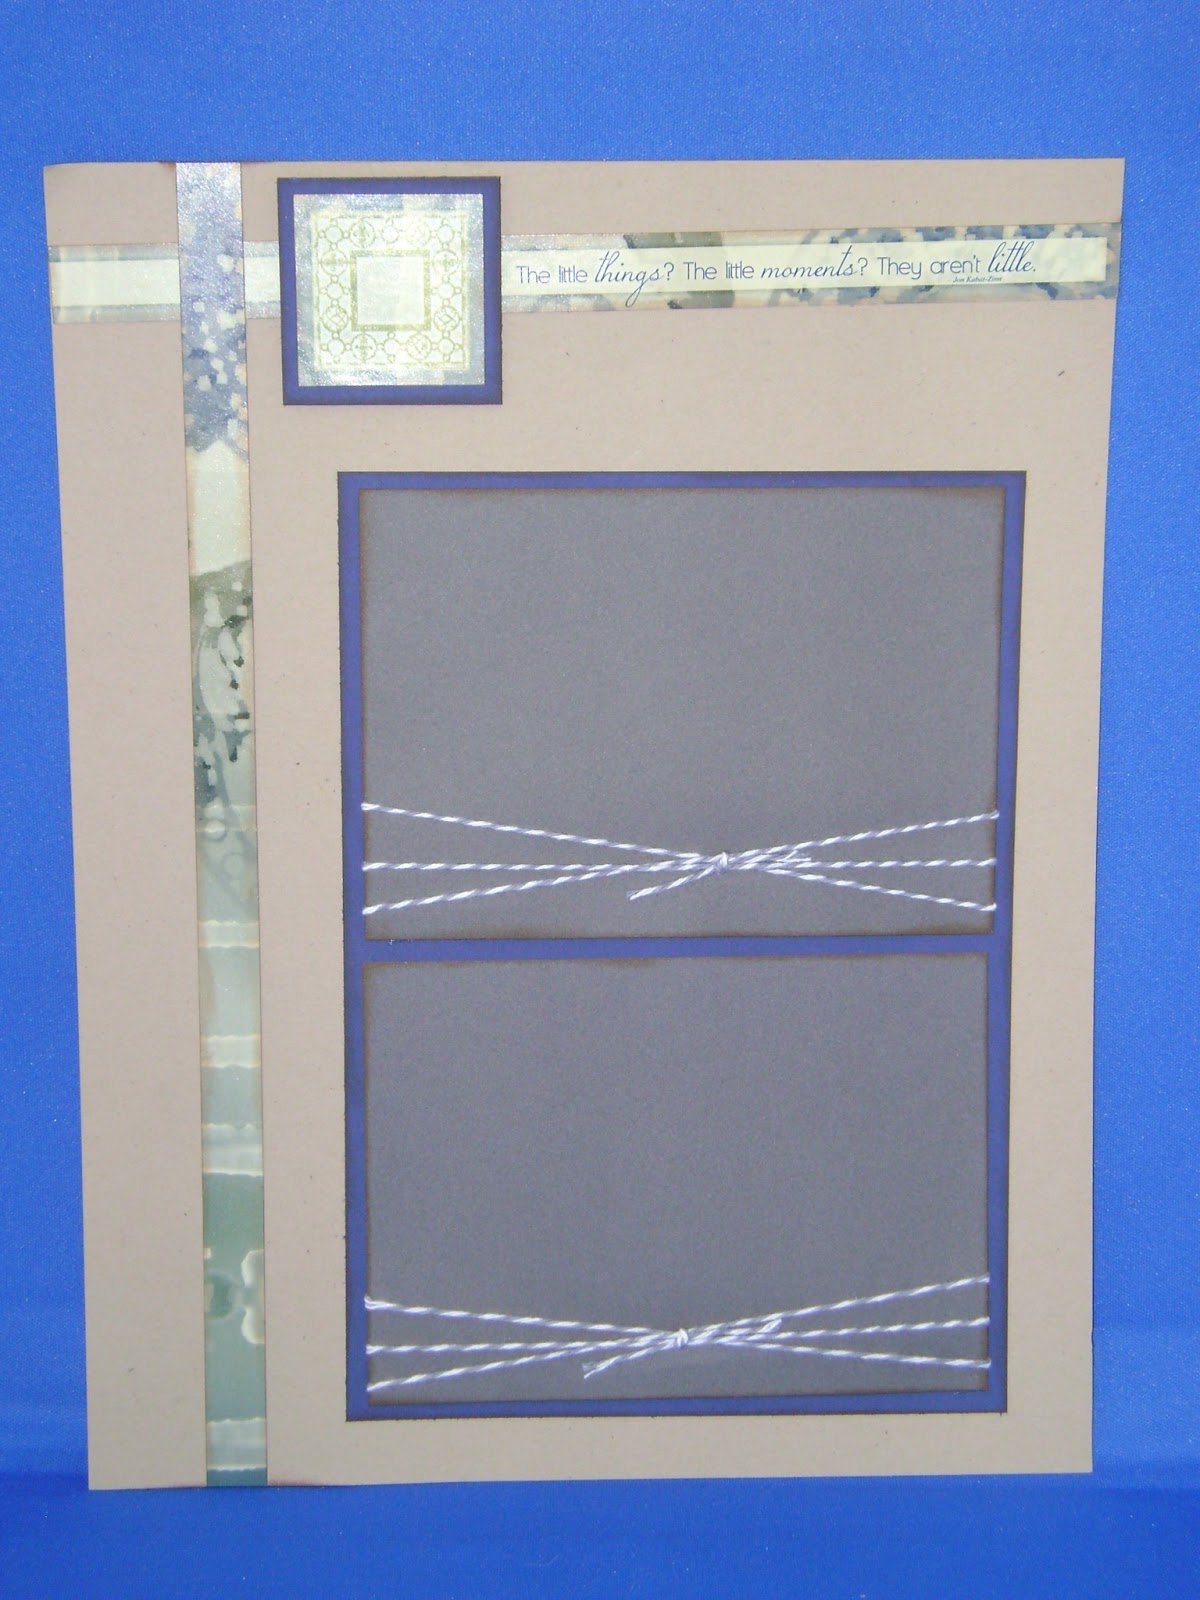 |
| This is the first page of this two page layout. I used sticker borders that came with the kit. I put them along the left side and the top of the page. The strip at the top has a sentiment. |
 |
| This is a closer look at the sentiment at the sticker border at the top of the page. I also put a square sticker bordered on blue cardstock to the left of the page. The sticker is 1 3/4" x 1 3/4", so I cut the blue cardstock at 2" x 2". |
 |
| I cut the blue cardstock to 5 1/2" x 8" and then I layered my photo mats on top and they are 5 1/4" x 3 3/4" I wrapped gray twine from The Twinery around the photo mats and then tied a knot. |
 |
| Here is the second page of this two page layout. I have cut two photo mats to 3 3/4" x 5 1/4". I also used a stamp from the kit and stamped above and below the photo mats. |
 |
| I have a border strip using patterned paper. I have them cut at 8 1/2" x 1 1/2". I also show a closer view of the stamped image above the left photo mat and below the right photo mat. |
 |
| Here is a look at the stamped image at the bottom of the right photo mat. At the bottom are three stickers that I mounted on blue cardstock. The blue cardstock is cut at 1 3/4" x 1 3/4", so that makes the sticker 1 1/2" x 1 1/2". |
 |
| Here I put another border sticker along the bottom and set the sticker over top. On the left I placed 4 blue brads that came in the kit along the left side of the page.
Click below to view my YouTube video:
|


Comments
Post a Comment