Versailles Club Scrap Kit (August 2011) - Pages 3 and 4

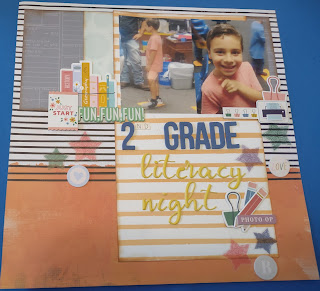
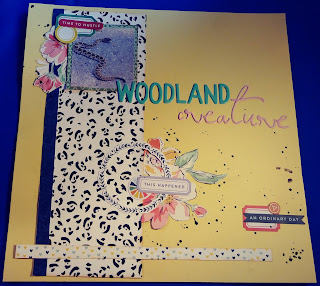
Here are pages 3 and 4. I used punch outs for this layout and a few cut aparts.
Let's look at the pictures below for further details.

This is page one of the two page layout. I have in the top and bottom left corners of the page
a punch out embellishment that came with the kit. I used punch out for the tag and
 cut apart for the bottom border with a sentiment embossed on it. I have a green patterned paper
set behindmy photo mat, which is cut at 5 3/4" x 8 1/4" and my photo mat is cut 3 3/4" x 5 1/4".

This tag is a punch out embellishment that came with the kit.  I punched out the bottom tag which
is plain on the top,but printed on the bottom, so when the flap is closed the print shows through
to the front. I added the top tag, which these two tags were meant to go together, so
there was no cutting to make this tag fit the bottom one. The tag came with a
sentiment printed on it. I added a silver eyelet that came with the kit and added
a ribbon that also came with the kit. The embellishments come with the kit
as long as you choose that as a side order or you can choose something
else as a side order and add the embellishment kit for a little extra.

I have a cut apart border set at the bottom of the page. It measures 8 1/2" x 1".
It is embossed with a decorative border on top along with a sentiment.

Here is page two of the two page layout. I have another cut apart border strip down the left side of the page. It measures 1" x 11".  I have two photo mats measuring at 5 1/4" x 3 3/4". I used a punch out for the right side of the page. It was a full circle and I cut the circle in half and used only half of it on this page.

This tag is the same sort of tag from the first page. It is a punch out tag and it comes
 with a mat for the top tag. This tag is printed on the top, so when the flap is folded over it shows the
plain cardstock on the front. I added a prong to the top of the tag. I came with then already printed on the tag.

This tag is a punch out embellishment. It came with the back tag cut to fit the top tag.
It also has the word now printed on it. It also came with a small strip of cardstock that slips through
 the slit in the bottom tag and folds over the top tag, which I held down using a prong.


Click below to view my YouTube video:


Comments

Popular posts from this blog

Child Powered Snow Plow Scrapbook Layout (November 2017 Hip Kit) Page 6

Aurora Borealis Club Scrap Kit (December 2011) - Pages 11 and 12

2nd Grade Literacy Night Scrapbook Layout (September 2021 Hip Kit) Page 7