Dream In Color June 2011 Club Scrap Kit (Pages 15 and 16)
My summer break has begun, so now it's time to catch up on my blog. My last day began on June 7th, but since I had to clean the room I was moving in before I could move my items into the classroom I had to work an extra week and let me tell you it looks great. I am ready for school in August. |
| This is page 15 and 16 using the June 2011 Dream In Color Club Scrap kit. When I joined I got to pick two months at a discount price, so one kit came with a stamp and the other trial kit did not. |
 . . |
| The first page has some patterned scraps set at the top and bottom right of the page. Those are cut at 3 3/4" x 2 1/4" and the edges inked using burgundy ink. I used the felt ribbon that came with the kit and I didn't have to many sequins left from the kit, so I used what I had in my stash that matched perfectly. My photo mats are 3 3/4" x 5 1/4" and ready for a 3 1/2" x 5" photo. I used my small metal swirls I purchased in the office section at Walmart. I bought a container of over 200 wood veneer letters and I used several different colored ink pads and colored the letters. |
 |
| This is the wood veneer letters I bought in the kids craft section at Walmart and I used 4 different ink colors and colored the letters to match the colors in the pattern paper. |
 |
| This is a closer image of the swirls I purchased at Walmart. I attached using glue dots. |
 |
| I have a red strip of red cardstock that I embossed using a floral Fiskars embossing plate. It is cut at 4" x 10 1/2" and the flowers I took a white ink pad and lightly went over the embossed flowers. |
 |
| This is the second page of this two page layout. Everything on this second page is the same size as the first page. |
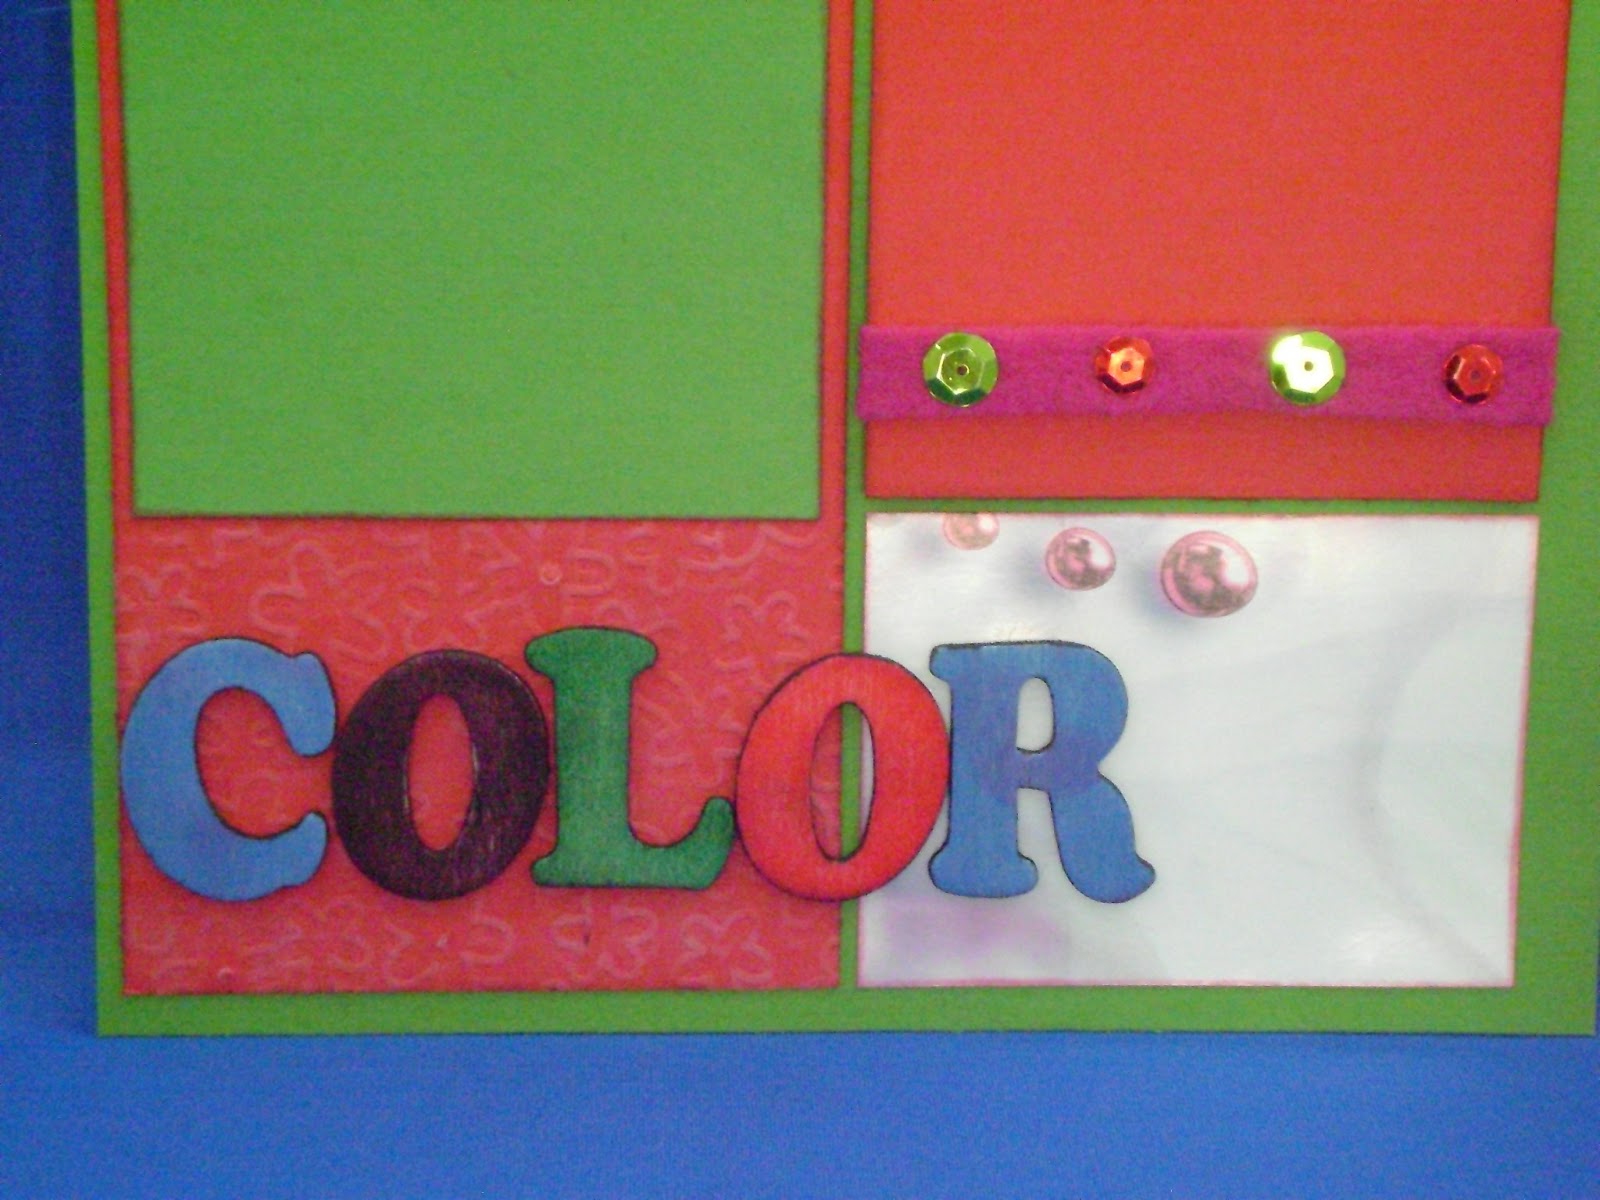 |
The wood veneer letters were bigger then first thought, so the title had to be split, but that is okay. I took a black ink pad and went around the edges of the letters, so the wood didn't show through. It didn't look right to have the letters colored and the edges stay the wood color, so I decided to bring out the letters more by inking the edges in black.
Click below to watch my YouTube video:
|


Comments
Post a Comment