Dream In Color June 2011 Club Scrap Kit (Pages 23 and 24)

This is a two page layout using cardstock from my own stash
 and patterned paper scraps from the kit.

This is the first page. Let's look at the pictures below for further detail.
The kit came with a paper that had printed on it the stamps you can purchase.
 I scanned that paper and printed the dream design onto
red cardstock that is cut at 2 3/4" x 8 1/4".

The photo mats are cut at 5 1/4" x 3 3/4" and will fit a 5" x 3 1/2" landscape photo.
 I ran the photo mats through my swirls cuttlebug embossing folder.
I added gray twine from The Twinery to the bottom of the photo mats. 
I have a strip of patterned paper that is cut at 8 1/2" x 1". I took several different colors of ink
 and i used foam makeup applicators to sponge on white cardstock. I cut into 1 1/4" x 1 1/4"
 squares and ran through the swirls cuttlebug embossing folder. I placed evenly along the bottom of the page.
This is the second page of this two page layout.
Let's look at the pictures below for more details.

I have two portrait style photo mats that are cut at 3 3/4" x 5 1/4".
I ran the photo mats through the swirls cuttlebug embossing folder.
I put gray twine from The Twinery at the bottom of the photo mat.

I got this dream embellishment from the paper I scanned and printed it onto green cardstock.
I cut this green cardstock to 3" x 5 1/2".

I used the same paper as the 1" squares on the first page.
These are also ran through the swirls cuttlebug embossing folder.
 These squares are cut at 2" x 2".
I have a patterned paper cut at 5" x 2 1/2" and it will be used for journaling.
I printed the journaling lines from the paper I scanned containing all these embellishments.

Click below to view my YouTube video:


Comments

Popular posts from this blog

Child Powered Snow Plow Scrapbook Layout (November 2017 Hip Kit) Page 6

Aurora Borealis Club Scrap Kit (December 2011) - Pages 11 and 12

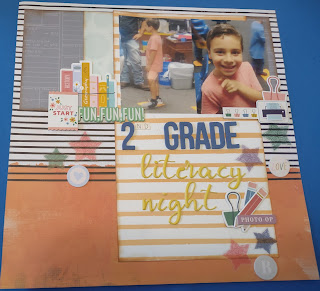
2nd Grade Literacy Night Scrapbook Layout (September 2021 Hip Kit) Page 7