Dream In Color June 2011 Club Scrap Kit (Pages 13 and 14)
 | ||
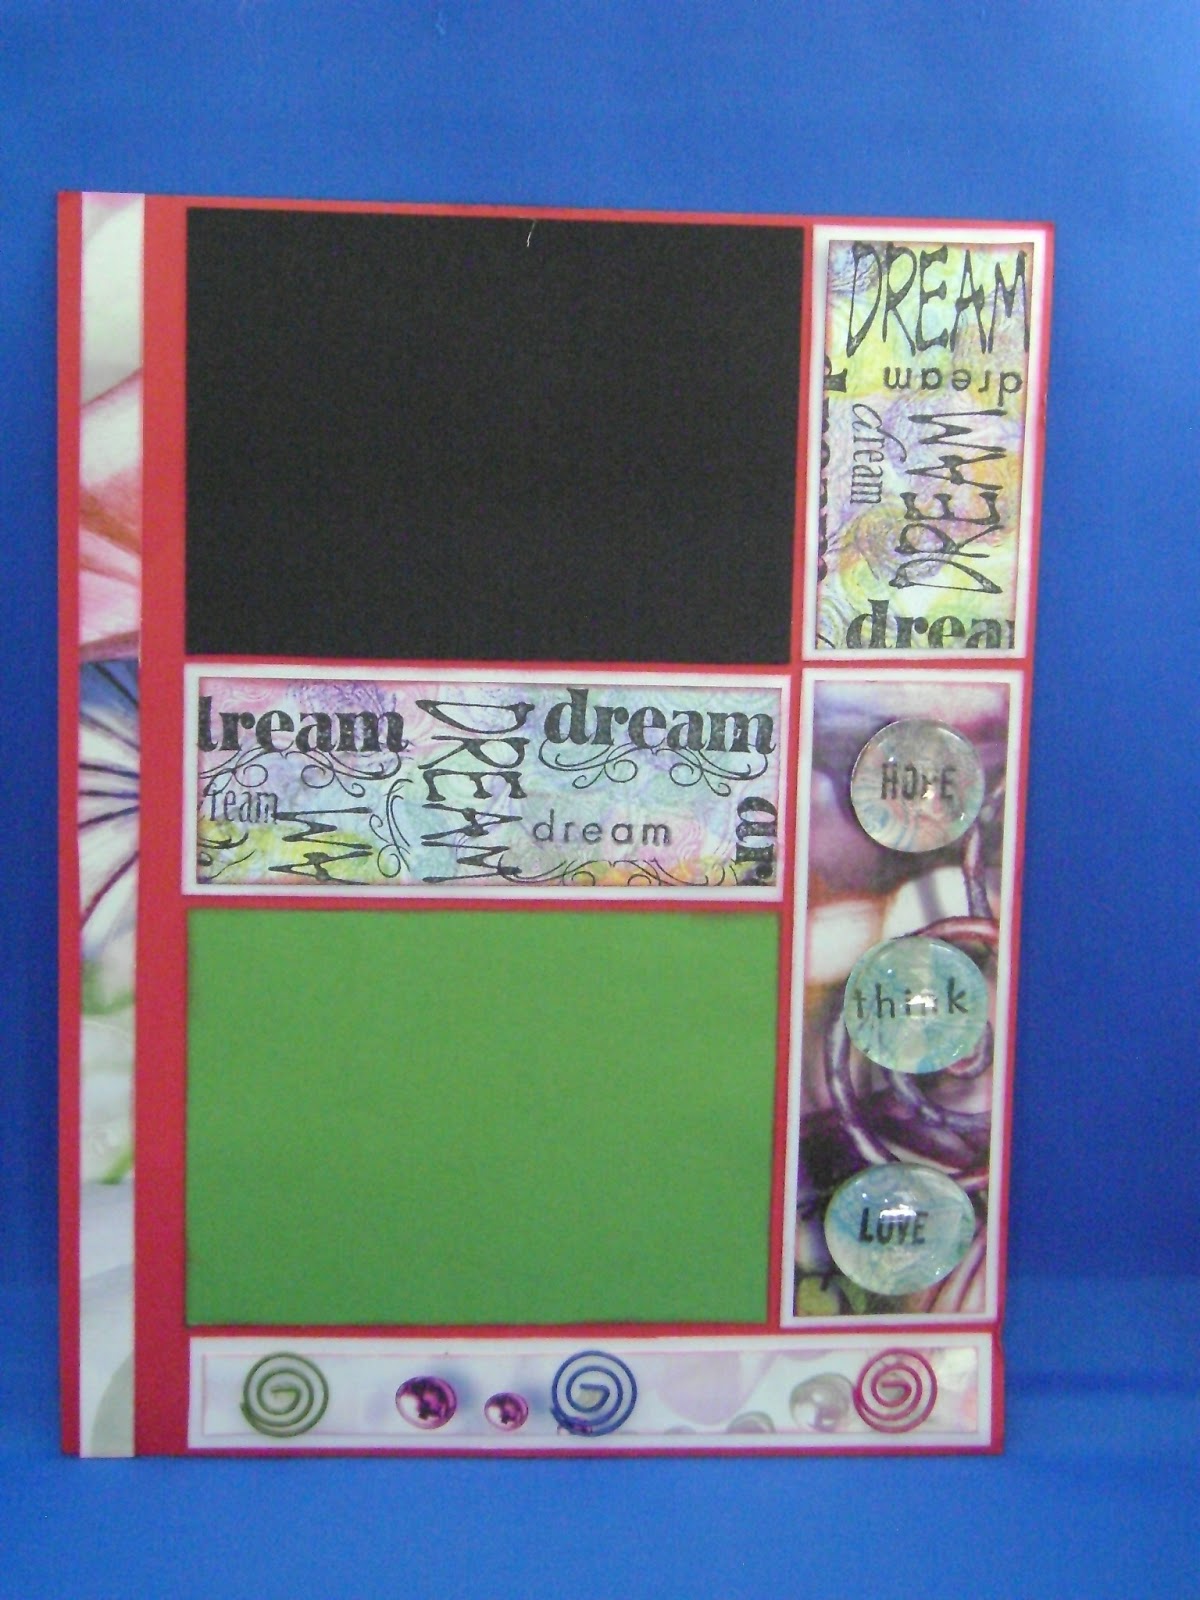
Here are pages 13 and 14 of the June 2011 Dream In Color Club Scrap kit. The cardstock is from the kit, but the twine, metal spirals, and the clear marbles are from my own personal stash of embellishments.
|
 |
| I made this paper detail myself using many different "dream" stamps. I first took the swirl stamp that came with the kit and stamped it using many different colors on white cardstock then I used Tuxedo Black Momento ink to stamp the word dream over and over in many different directions. The edge is inked with burgundy ink and mounted on white cardstock, which is also inked using burgundy ink. It is cut down to 1 3/4"x 3 1/2" and the white cardstock is cut down to 2" x 3 3/4". |
 |
| This embellishment is the same as the picture above, but it is cut at 5" x 1 3/4" and the white cardstock is cut to 5 1/4" x 2". |
 |
| This embellishment is patterned paper from the kit mounted on white cardstock. The patterned paper is cut to 1 3/4" x 5 3/4" and the white cardstock is cut to 2" x 6". I used the swirl stamp that came with the kit and stamped it in many different colors numerous times on white cardstock then I took three words from friends quote stamp set and stamped it on the paper then cut it into a circle using a circle stencil. I got these clear marbles from the dollar store and I layed them on top using a glue dot. |
 |
| This was a piece from the embellishment pack that come with the kit. I cut it down to 7" x 3/4" and mounted it on white cardstock that is cut at 7 1/4" x 1". I used my metal swirl embellishments I bought at Walmart's office section. |
 |
| Here is the second page of this two page layout. I have a portrait style photo mat that is cut at 3 3/4" x 5 1/4" and will fit a 3 1/2" x 5" photo. I have two more areas that could be used for photos or journaling. I am going to use one for a photo and one for journaling. |
 |
| I wrapped red twine around the top of my layout. I bought this twine from TheTwinery. I used the same paper that I used for the first page and stamped the word dream on it and then used a clear marble I attached with a glue dot. |
 |
| I have a black mat which is cut at 2 3/4" x 3". I will probably use this for journaling. I made a tag using some scraps from the kit and stamp "dream come true" using the sentiments stamp set. I attached a small metal swirl using a glue dot. |
 |
| I have a smaller photo mat that I cut down to 3 1/2" x 4" and the green cardstock is cut to 3 3/4" x 4 1/4" and it will fit a 3 1/4" x 3 3/4" photo.
Click below for my YouTube video:
|


Comments
Post a Comment